I’ve been using Godox flash units ever since I parted with the Yongnuo system (and expensive Nikon and Canon flash units before that). There are plenty of great Godox flash options for both indoor/studio and outdoor needs. But I’ve been pretty happy even with the ultra-affordable TT685. You can use any of the flash trigger options below, along with a set of TT685 units to create professional-looking portraits, easy. And if you need more power, just add an AD200 or AD600 to the mix! The smart Godox flash triggering system can handle all the compatible lights in your setup.
I’ll start this post off by explaining my personal philosophy about flash control for portrait lighting setups. I cut my teeth on old-school fully manual lighting. No TTL, no radio signals to control lighting power from the camera, and your hand-held flash meter was your best friend. Those were the film days, and back then, if you didn’t have a Polaroid camera with manual exposure controls, you had no test shots.
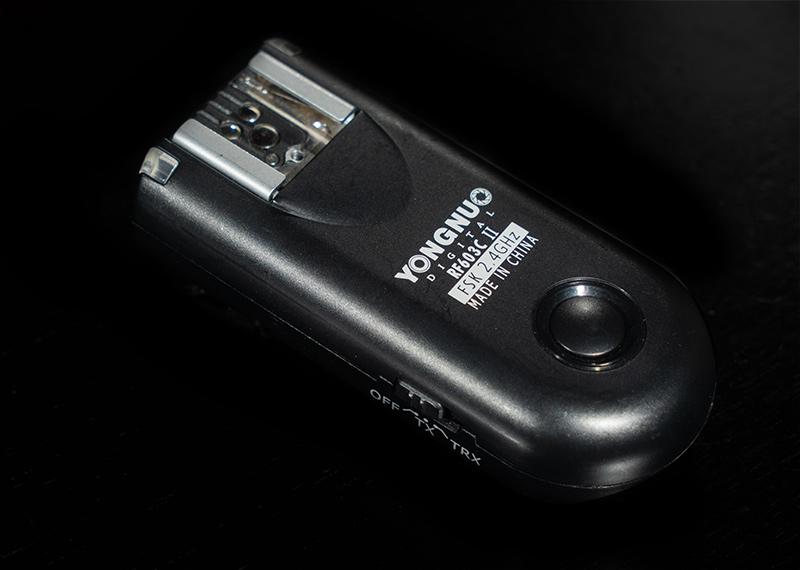
With that said, it’s probably no surprise that I’ve been happy with simple “dumb” flash triggers like the early PocketWizards and the more recent super-cheap units from China. I’ve used the Yongnuo 603s and never had any problems with them when it came to simply synching remote flash units. Sure, no TTL, but I’ve mostly shot with manual flashes (or flashes set to manual) anyway. These triggers worked great coupled with almost any flash and a matching Yongnuo 603 set as receiver. If using a compatible Yongnuo flash, I didn’t even need to use an external receiver, just the 603 mounted to the camera.

Again, basic triggers like the aforementioned 603 don’t provide TTL communication; they just trip the remote flashes when you click the shutter, and you’ve got to make sure those remote flash units are set to the proper power settings (in manual mode). You’ve also got to make sure of your manual camera settings.
I stopped using Yongnuo products awhile back. When I switched over to using Godox flashes (also sold under other brand names), I discovered Godox’s powerful system for controlling remote flash units. I’ve been using this system ever since.
Godox Triggers: Standard Features
Each of the flash triggers below accomplishes basically the same thing; they allow you to remotely control the flash units in your setups. This includes TTL operations as well as manual flash and other flash features (make sure to get the transmitter model that matches your camera brand). But there are differences which is what I really want to cover in this post.
All have:
- 2.4 GHz
- Wireless radio range: 100 m
- HSS (1/8000)
- Lighted LCD panels
- Control at least 5 groups
- Power: 2X AA batteries
- Mini-jack (3.5, 2.5 XPro) and micro-USB (for firmware updates)
- AF assist beam
- Test flash fire button
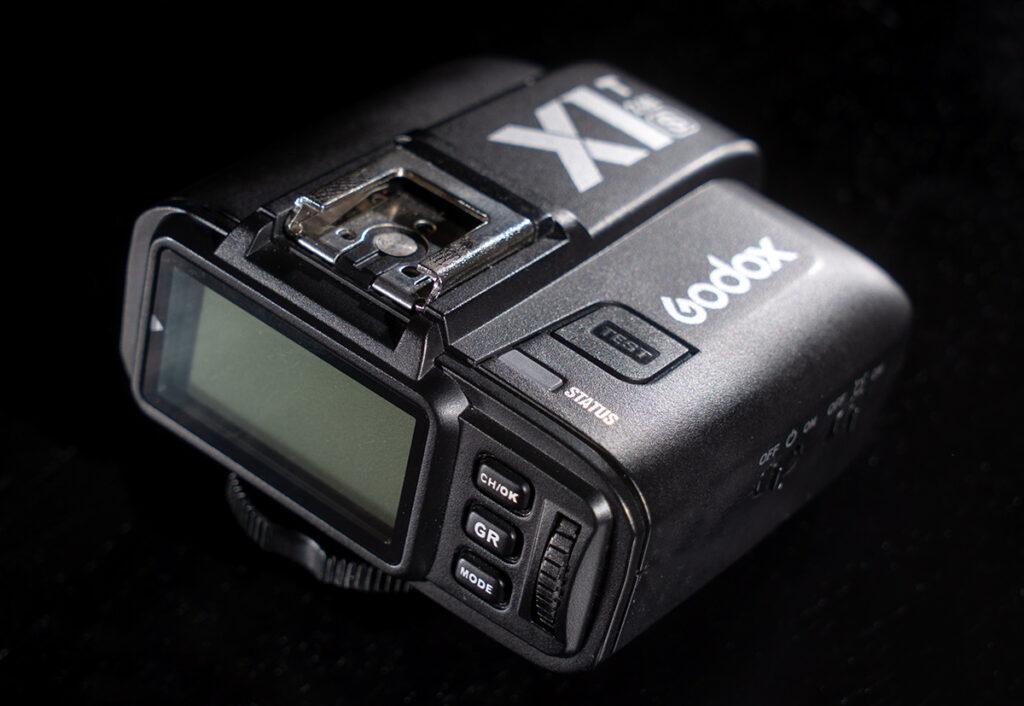
Godox X1T
This was the first Godox remote trigger I purchased and it’s served me well over the years. The X1T has a great low-profile with three buttons and a dial within thumb’s reach on the right side of the unit.

You’ll have to consult the manual to navigate the detailed menu system (under Custom Functions). But under normal use, operating this little unit is easy: Press the Group button to select the flash group, press Mode to change the flash mode for that group, use the dial to adjust the power setting for that group.
Check out my tutorial on using the X1T here.
You can also shift the power on all groups at once by long-pressing the Group button and moving the dial up or down.
In all honesty, this little unit is sufficient for 99% of the work I do and for the way I work. So, why bother with the other triggers in this lineup? Well, they have some nice features the X1T doesn’t have.
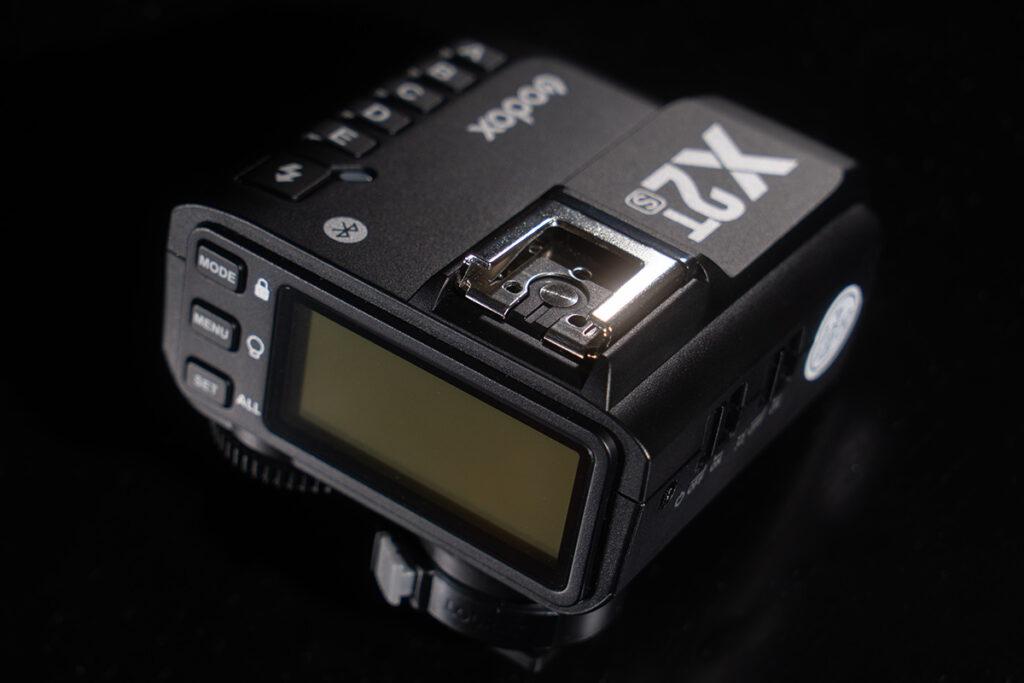
Godox X2T
The X2T adds plenty of smart features that just might make your life a little easier during a shoot. But of course, this really comes down to personal preference, especially when it comes to trigger profile/height and button placement.

The three buttons next to the LCD panel are located on the left side (no more easy reach with the right hand thumb), and the buttons perform slightly different functions than they do on the X1T. The X2T gives you direct access to any of 5 groups (A, B, C, D, E) directly from individual buttons marked as such on the top of the unit.
Other features:
- Modeling lamp control with compatible strobes
- Easy to navigate menu system for detailed settings
- Zoom control of flash units with compatible flashes
- Not just channel settings, but up to 99 ID settings
- Hot shoe Quick Lock instead of spinner tighten
One Setup, Multiple Photographers’ Settings!
What’s also cool is that if you have more than one photographer using a compatible Godox trigger (like another X2T or an XPro), they can all use different settings during the same shoot simultaneously! In other words, if you’ve setup your flash units and set your X2T to use, say, all TLL, and your friend is shooting the same setup with his X2T commanding the flash units to use individual manual settings, the flashes will follow the commands of the photographer pressing the shutter button. Neat.
Bluetooth & An App
Another cool feature is the Bluetooth connectivity to your smartphone, and the Godox flash app. This allows you to control the flashes from the app, instead of directly from the X2T unit. Personally, I think it’s easier to manipulate the buttons and dial directly on the unit, but the app has another cool feature: the ability to take a photo with the smartphone itself, synching the exposure to the firing of the flashes. I’ve only used this a couple of times with mixed results, but it does work.
XPro
Personally, I think the Xpro is the most awkward-looking unit in this lineup, but it might just be the most useful of the three. It looks and feels kind of like the backside of a Godox shoe-mount flash unit (without the flash). It’s got a large LCD panel, and several buttons and a select dial just like you’d find on a flash. The menu system has the same feel, too.

Again, like the X2T, there are five buttons on the left-hand side (this time without letter markings). You’ve got control of everything in your setup, just like you do with the X2T. And maybe, some of the settings are even easier to get to. But what you don’t have is the cool Bluetooth feature. That’s probably just fine for most of us.
TTL to Manual Transform!
What you DO have is a nice little feature Godox calls TCM. This feature allows you to take a first shot with flashes set to TTL, and after long-pressing the TCM button, all flashes are “transformed” to manual settings that line-up with the previously, automatically calculated TTL power settings. This makes it possible to let TTL do the initial guesstimate on all flash power settings so you can quickly just fine-tune in manual from that point on.
Many photographers feel that this feature alone is a game-changer, if not just a time-saver.
Conclusion
A few things to note about what I don’t do with my Godox flash triggers: I don’t use the AF illumination feature, the pass-through hotshoe, nor the mini-jack connector. I just attach the trigger to my camera’s hotshoe and control remote flash units with it. So, I can’t really speak to those features, but I can confirm that I’ve had no luck making the AF feature work with my Sony camera and a Godox trigger. As for which is my favorite unit in this lineup? I’d probably go with the X2T because of its low-profile compared to the XPro, and the fact that it’s got fewer buttons to mess with to do the things I need it to do. I love the X1T for its simplicity, too, but it’s a bit outdated at this point. The XPro would be my choice if I needed the TCM feature.
Loved this tip? Here's something else you might like:
👉 Free 10-Min. Guide to Off-Camera Flash
