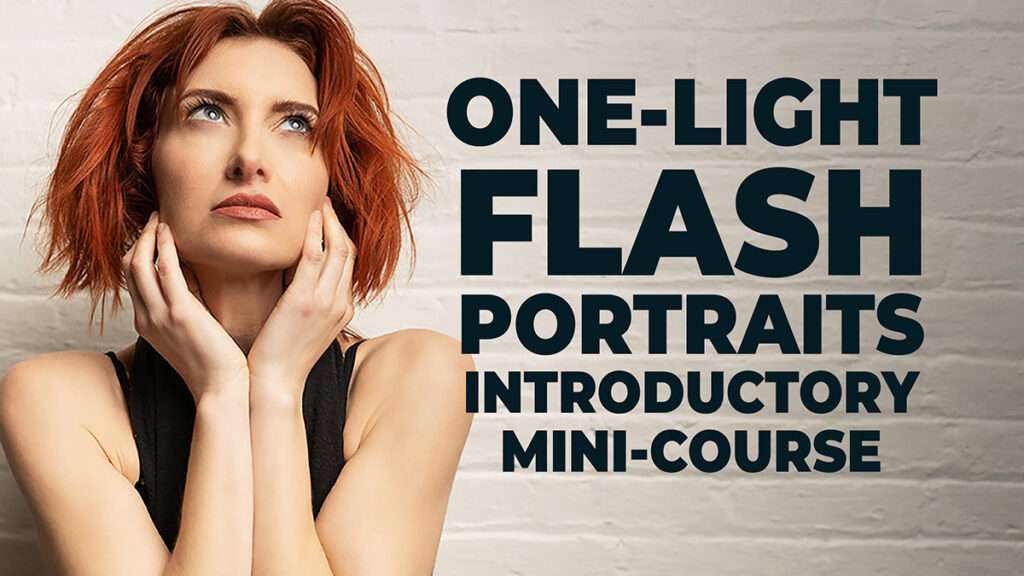
Flash photography can be intimidating, especially if you’re new to it. But if you’re interested in improving your portrait photography, mastering flash is an essential skill to have in your toolbox. In my video, One-Light Flash Portraits | Introductory Mini-Course, I provide a quick overview of how to get started with flash portraiture.
Why One Light?
When it comes to portrait lighting, there’s one light, the key light, that is the foundation of any setup. It’s the light that most defines your subject’s appearance, and it’s where you should start when learning about portrait lighting. In the video, I cover some basics to get you started with one-light photography. I’ll show you where I place the light about 90% of the time, and how learning some basic portrait lighting patterns is the first step to learning portrait lighting, before moving on to multi-light setups.
Understanding Light for Photography
In the video, I briefly cover the different types of lighting used in photography: natural light, constant or continuous light, and flash or strobe lights. I also talk about how light moves in straight lines and reflects or bounces around, and modifiers like umbrellas and softboxes can be used to create different qualities of light. All seemingly obvious things to mention but important to keep in mind as you approach more advanced topics later.
One-Light Setup
In the gear overview we discuss the items you’ll need for an off-camera flash setup:
- Flash/Strobe
- Light stand
- Flash mounting bracket, swivel bracket
- Modifiers
- Triggers
Techniques
We finish up by discussing the five traditional lighting patterns for portrait photography: short, broad, butterfly, split, and Rembrandt. These are fundamental lighting patterns that every portrait photographer should know. Once you get a handle on these you’ll be ready to take on a second light to add sophistication to any portrait.
Learn more about lighting with the Flash Photography for Portraits Course.

