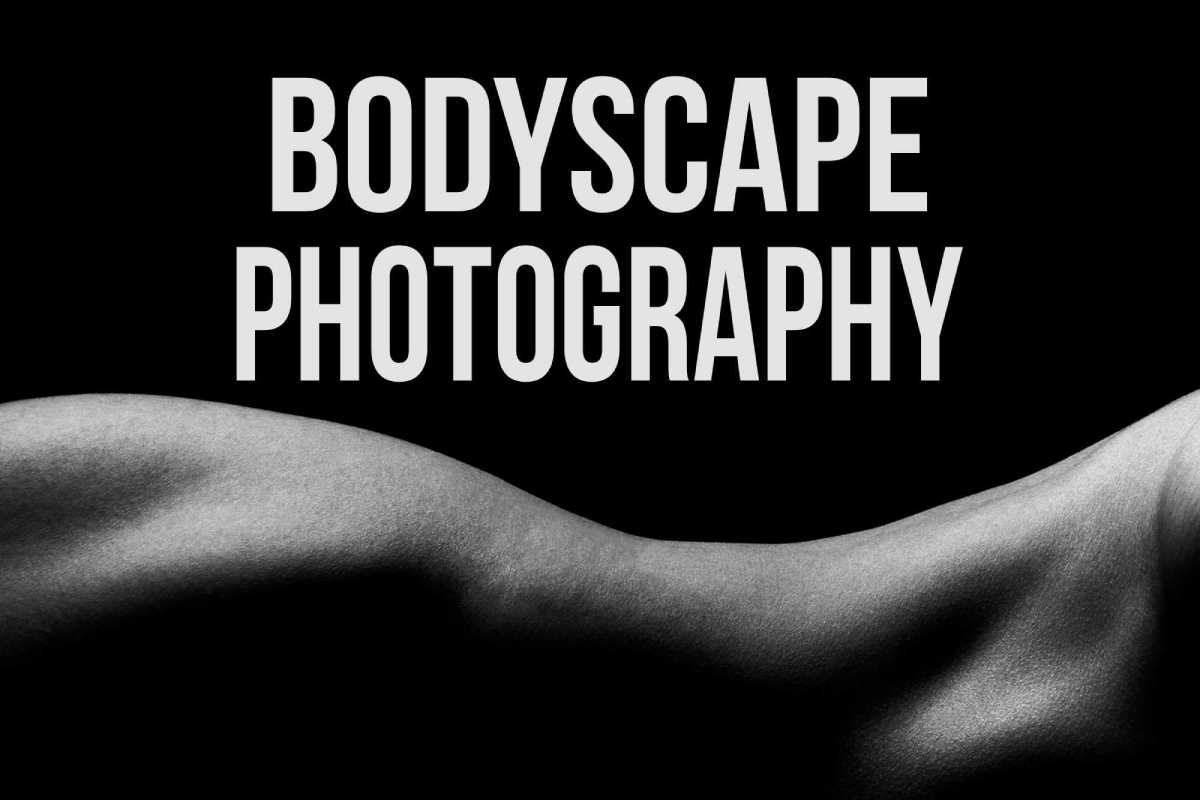
How to Do Bodyscape Photography
Bodyscape photography is one of those genres that often looks far more complicated than it really is. When you see a finished image with strong contours, deep shadows, or soft luminous highlights, it’s easy to assume the photographer was working with complex lighting setups and a lot of specialized gear. In reality, you can create compelling bodyscapes with very little equipment and a solid understanding of light direction.
Learn Bodyscape Photography Here
In the video, I walk through two simple variations of the same core lighting idea. One works with the model standing, the other with the model lying down. The setups are nearly identical, just rotated to suit the pose. From there, it becomes a matter of refining exposure, nailing focus, and paying attention to background control. In many cases, the background will naturally fall to black, but a dark backdrop can help reinforce that look.
I also cover a high-key approach, which is a very different mood but just as effective. Bright backgrounds, soft illumination, and subtle transitions can produce images that feel elegant and abstract without relying on heavy contrast. This style is often appealing to clients who want tasteful, artistic nudes that don’t feel overly personal.
Finally, a lot of the magic happens in post-processing. Cropping, rotating, converting to black and white, and making thoughtful tonal adjustments can completely transform how an image reads. Orientation becomes almost irrelevant once you start thinking in terms of shape and flow rather than literal subject matter.
If you’ve ever been curious about bodyscapes, this video will show you just how straightforward the process can be. With one light and a clear approach, you can open up an entirely new creative direction in your work.