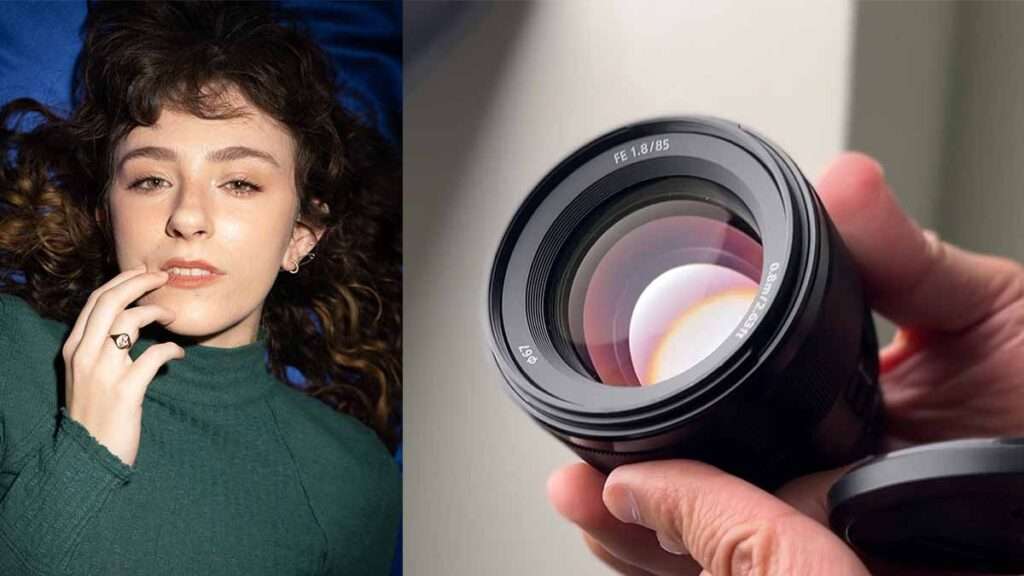
In this video, I take you behind the scenes of a recent photoshoot I did with Molly, a young actor who is just a lot of fun to work with. During our time in the studio, I had a few goals in mind: testing out a used Sony 85mm 1.8 lens, experimenting with the Westcott lighting system, and of course, capturing some great shots of Molly.
The video takes you through five different looks that I achieved with just one model and one outfit. From basic headshots to dramatic glamour shots, I show you how I set up the lighting and camera settings to achieve each look.
One of the highlights of the shoot was testing out the Sony 85mm 1.8 lens. This lens is much more affordable than the high-end Sony 85mm 1.4 G-Master lens and some people claim that it’s even better in some ways. After using it for this shoot, I was impressed with its sharpness and detail.
I also had a chance to become more familiar with the Westcott lighting system, using both the FJ400 and the smaller FJ80ii along with the FJ-X3 trigger. This was only my second time using this gear, so it was a great opportunity to practice and see what kind of results I could achieve.
Overall, I was very happy with the results of this photoshoot. I was able to achieve five distinct looks with just one model and one outfit, and I was impressed with the performance of both the Sony 85mm 1.8 lens and the Westcott lighting system.
Check out the video to see all of the looks in action and to learn more about my thought process during the shoot.
Loved this tip? Here's something else you might like:
👉 Free 10-Min. Guide to Off-Camera Flash

