
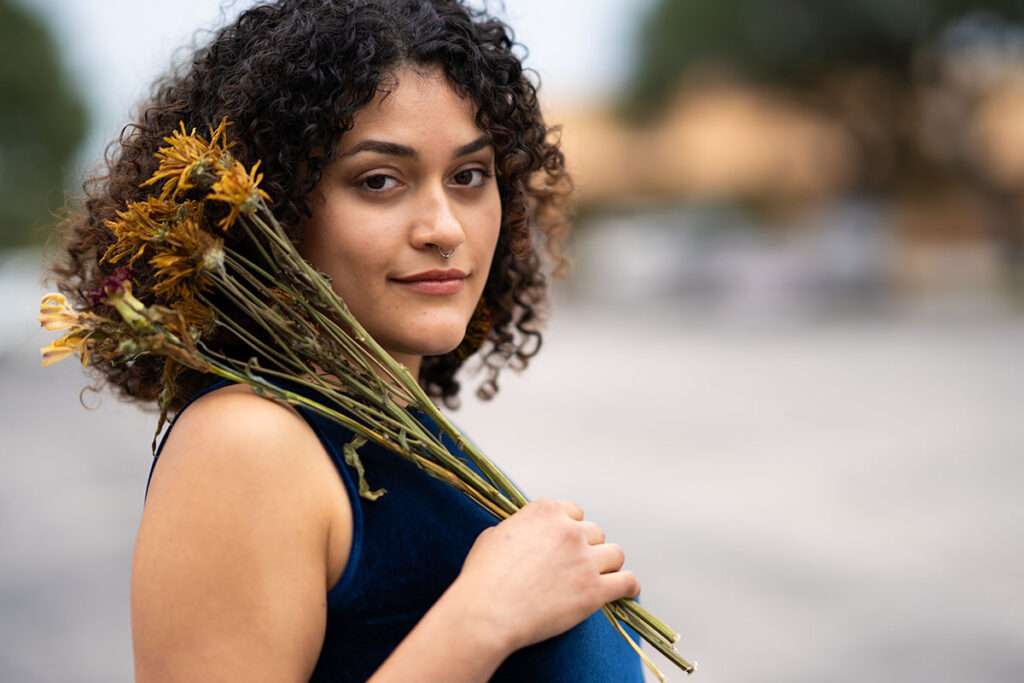
So, you’ve seen those professional-looking portraits, with the dreamy, blurred background, and you’re like, “I want that!” But when you try it, everything’s in focus—your subject, the trees and structures behind them, everything. It’s frustrating when you don’t understand how come it’s not working the way you want it to. Let’s demystify how to get that beautiful, soft background, often called “bokeh.”
What is Bokeh?
First things first, let’s understand what bokeh is. Bokeh is a Japanese term that refers to the aesthetic quality of the blur in the out-of-focus areas of an image. In simpler terms, it’s the creamy, dreamy background that makes your subject pop.
Why Your Background Isn’t Blurring
So, why do your photos have everything in focus, from the subject to the background? This is because of something called “depth of field” (DOF), which is the range of distance within the frame that appears sharp. When your DOF is too large, both your subject and the background will be in focus.
Factors Affecting Bokeh
- Aperture Setting (f-stop): The aperture is the opening in your lens that lets in light. A lower f-stop number (e.g., f/1.8) will create a larger opening and a shallower DOF, leading to more blur.
- Distance Between Subject and Background: The farther your subject is from the background, the more blurred the background will be.
- Distance Between Camera and Subject: The closer you are to your subject, the shallower the DOF will be, resulting in a more blurred background.
- Lens Choice: A lens with a longer focal length (e.g., 85mm) will generally produce more pleasing bokeh than a wide-angle lens.
Step-by-Step Guide to Achieving Bokeh
- Set Your Aperture: Start by setting your camera to Aperture Priority mode (usually denoted as ‘A’ or ‘Av’ on the mode dial). Choose a low f-stop number like f/1.8 or f/2.8. You can do this in Manual mode too.
- Position Your Subject: Make sure there’s some distance between your subject and the background. This could be as simple as asking your subject to step a few feet away from any objects behind them.
- Get Closer: Move closer to your subject. This will help in reducing the DOF further.
- Focus: Manually select the focus point to be on your subject’s eyes (preferably) or face in general.
- Take the Shot: Once everything is set, go ahead and take your shot. Review it and adjust your settings as needed.
Practice Makes Perfect
The key to mastering bokeh, like any other photography skill, is practice. Start experimenting. Before you know it, you’ll be capturing portraits with beautiful, dreamy backgrounds that make your subject stand out.