On-Camera Flash for Beginners
If you’re new to flash photography, this post might just put you on the fast track to becoming a flash expert. At the very least you should see a dramatic improvement in your on-camera flash skills. Then it’s only a matter of taking a few more steps toward more advanced professional lighting setups.
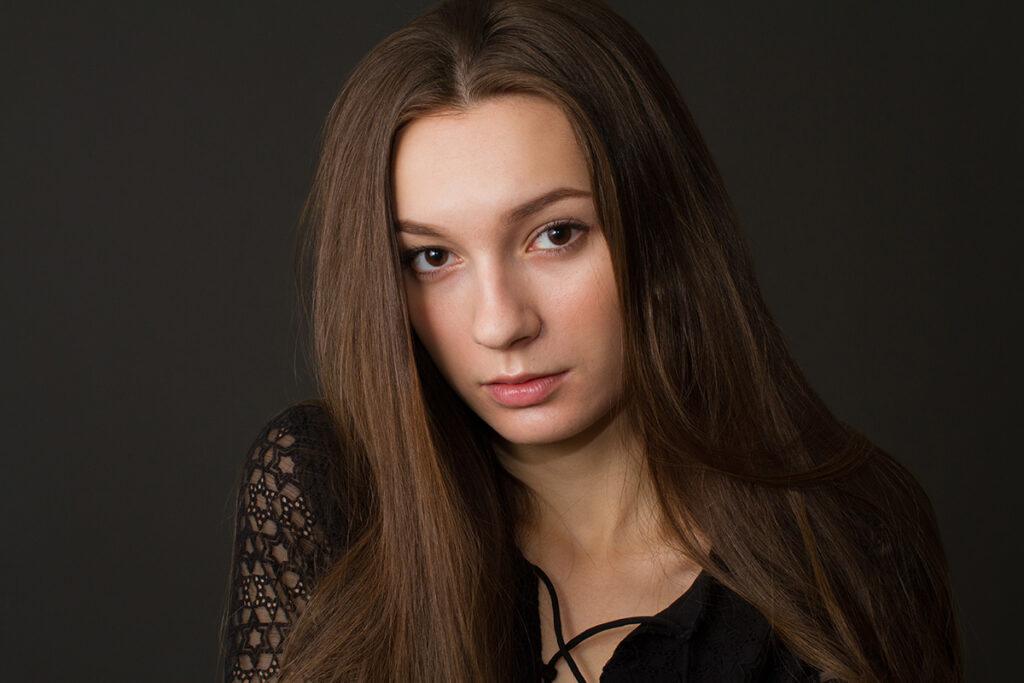
Amazing Portraits with On-Camera Flash
Yes, it’s totally possible to create professional-looking portraits with a single on-camera flash. Off-camera flash definitely has its advantages, and it’s a skill every photographer should learn, but it’s not the only game in town. With the right techniques, your on-camera flash is all you need in many cases.
Start with One Flash
Beginners often seem to be in a rush to throw a multi-light setup together and try to make it work. But I always encourage my students to start with just a single light. In this case, an on-camera flash. Only when you’ve mastered working with one flash should you move on to adding a second, and then a third. The reason for this? You should have a solid understanding of how a single flash works, and what effect it has on a subject and a scene, before trying to coordinate several remote flash units at a time.
It might be tempting to skip this advice but if you do, you’ll end up with gaps in your knowledge. You really shouldn’t attempt to learn multi-light setups until you fully understand how to use a single flash, both on- and off-camera.
But what type of flash should you start off with? Start with one you already own. If you don’t already have a TTL-enabled shoe-mount flash, it’s time to get one.
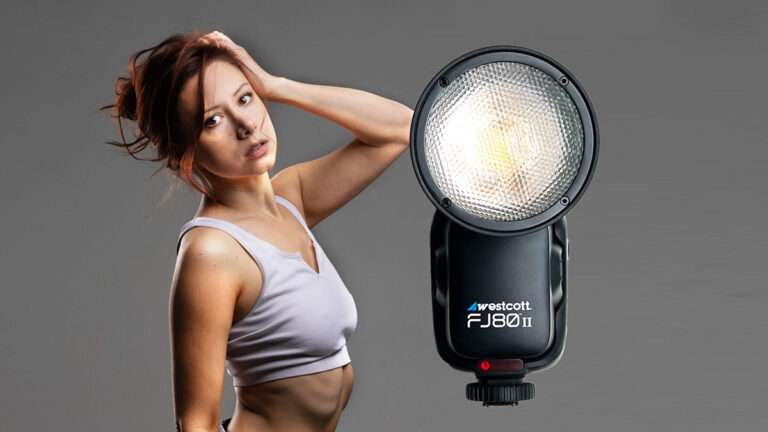
Start With A Good Speedlight-type Flash Unit
Studio strobes are great for portraiture, but I recommend starting off with a basic on-camera type flash. These units are light, convenient, and extremely versatile. They can also be used in off-camera setups as you level-up on your skills. Considering their size and affordability, it’s really amazing what these lights can do when you use the proper techniques.
You’ll find excellent reliability with higher-end models from Canon, Nikon and others. They might be more expensive than 3rd-party alternatives, but well worth the price. You don’t need the most expensive model in a given lineup, but I’d stick with a proven workhorse.
Canon has several good options, including:
Here are some favorite Nikon models:
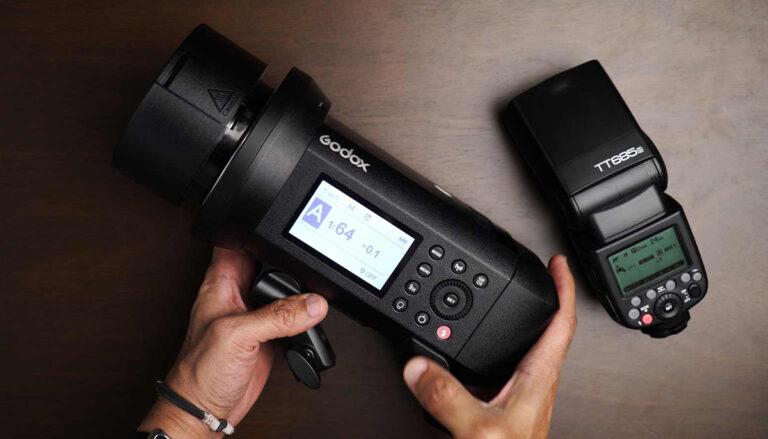
But there are plenty of very affordable 3rd-party options that will also work. Do your research and read the reviews when making your selections. Many photographers have found products by Godox, Yongnuo and others to be fairly reliable (with some exceptions) and exceedingly affordable.
I’ve had good experiences with various Godox flash products including the Godox TT685 (on-camera) and Godox AD400 Pro (studio strobe) as well as their wireless remote TTL products.
Take Advantage of TTL
Your flash should be compatible with your camera’s TTL system. TTL flash metering, like Canon’s E-TTL II and Nikon’s i-TTL, eliminates the need to manually adjust the power level of a flash when conditions in the scene change. This includes when the distance between the flash and your subject changes. Even a small change in these distances can have a significant impact on flash exposure. With TTL, the camera and flash work together to automatically calculate the correct flash power for each shot. TTL is a powerful feature for certain types of flash photography.
Recommended Flash Features
Most modern on-camera flash units have all the features you’ll need for good flash photos. But just to be on the safe side, make sure your flash has the following:

- Rotating/swiveling flash head. A good speedlight flash will be equipped with a flash head that rotates and swivels. This will make it easy for you to aim the flash at the ceiling and walls and other surfaces to get different lighting effects directly from the camera position.
- Wide-angle adapter. For use when using wide-angle lenses.
- Flash zoom. Adjusts your flash beam according to the lens used.
- Good recycle time. A good flash is ready to go from shot to shot.
- Batteries. Your flash should accept the type of batteries you find convenient to use.
- Flash modes and capabilities should include:
- TTL mode
- Manual mode
- Wireless remote operation via radio signal operating on your choice of channels and in multiple groups. This is something you’ll use as you progress to off-camera techniques.
- High-Speed Sync (HSS). When you want to use faster shutter speeds with flash (e.g. outdoor/fill-flash).
- Flash Exposure Compensation (FEC)
What About Flash Modifiers?
Those new to flash photography often make the mistake of using their camera-mounted flash in the most obvious way; pointed directly ahead at their subject. When the light from your flash strikes your subject directly from the camera position, an unnatural and generally unflattering light pattern results.
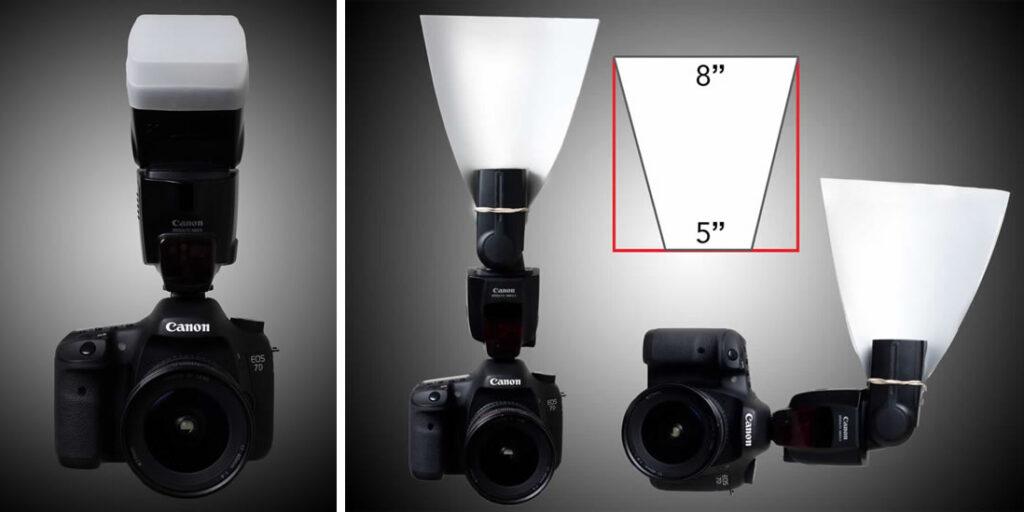
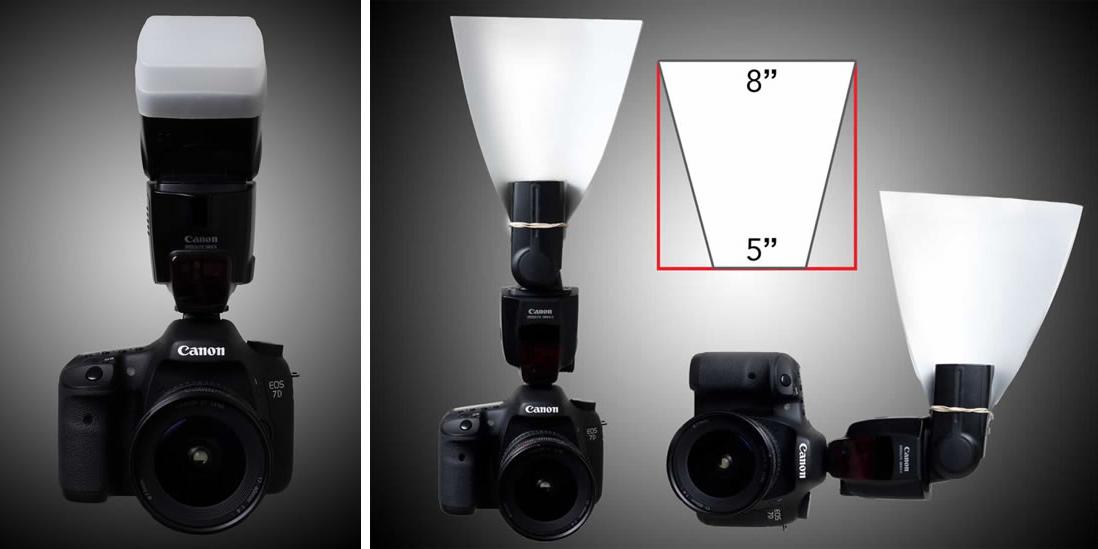
But you can improve the look of your flash lighting with a bounce card or a flash diffuser. These modifiers attach to your flash head and help spread the light emitted from the flash around the room. This way your subject gets illumination not just directly from your flash, but also from different parts of the room as the light is reflected back. This helps soften the look of the light and produces a more natural-looking light pattern.
Two good solutions I talk about in my tutorials are diffusers like the Sto-Fen Omni-Bounce and bounce cards like the DIY craft foam bounce card pictured above. These are inexpensive and easy to use. Just follow proper technique.
Bounce Your Flash
Of course, my favorite way to create beautiful flash lighting is with simple light bounce techniques. I’ll typically just position myself and my subject near a light-colored wall and rotate the flash head toward the wall. When the flash fires, this creates a large beautiful light reflection off the wall. And larger light is softer-looking light.

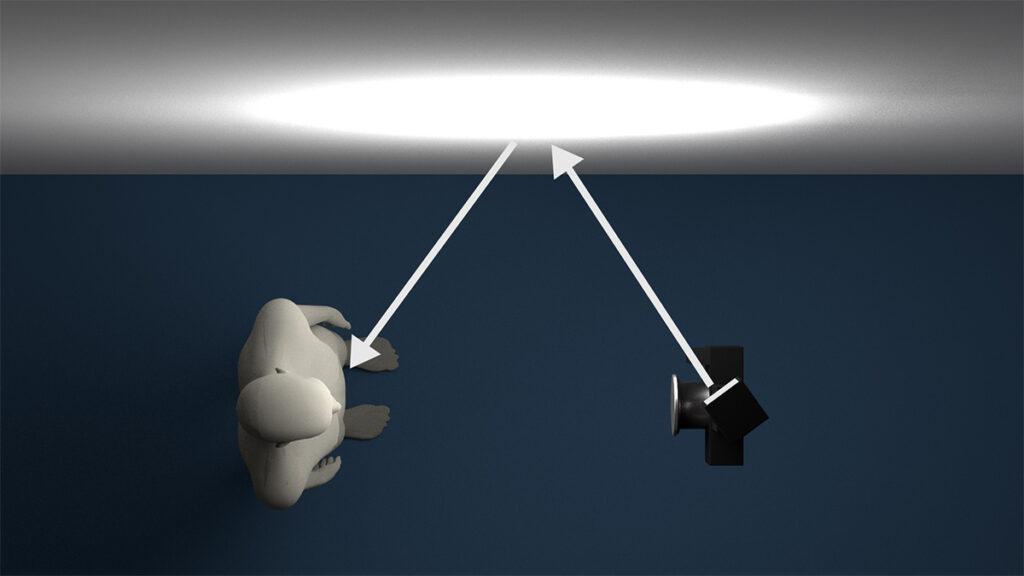
Another favorite is similar, but I use both the wall and ceiling for this type of bounced flash illumination. The subject is positioned near the center of the room, I’m positioned between them and the wall behind me. I turn the flash completely around and aim it up about 45 degrees to strike where the ceiling and top of the wall meet. This creates a beautiful and evenly dispersed light.