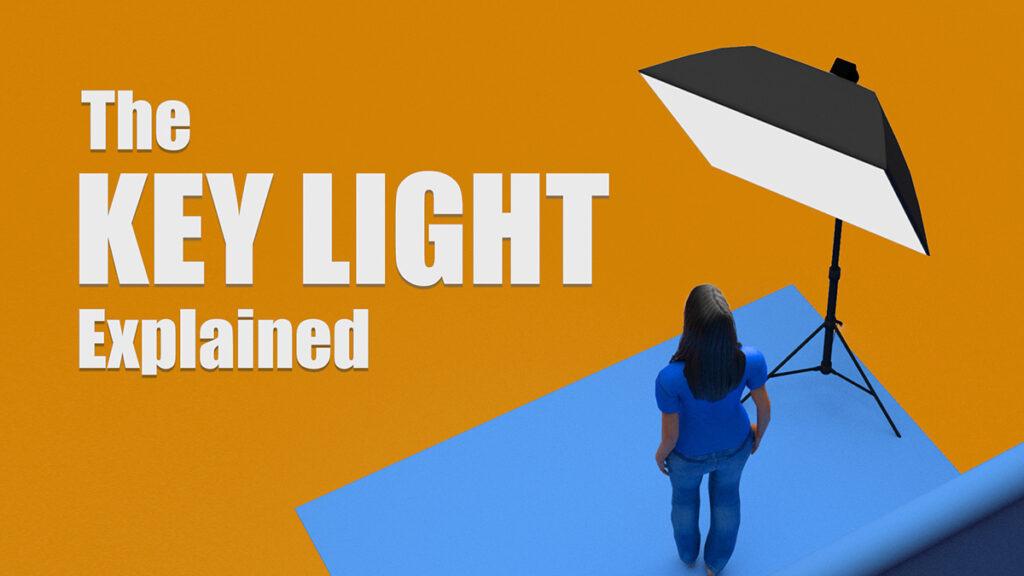
In a portrait photography lighting setup, the key light is the foundation. This is the primary source of illumination for your subject. The “key” is also the light that provides the most information about your subject’s features and shape. It’s the way the key light casts illumination AND shadows across your subject’s face that gives the viewer a sense of what your subject looks like as a real, three-dimensional person.
The physical key light is really nothing special. It can be anything that serves the purpose of the main portrait light. Key lights can be constant lights or flash lighting, and you can use a key light with, or without, a light modifier. However, most photographers opt for a softbox or some other type of diffusion modifier over bare lighting. This helps to create a larger and softer-looking light pattern which can be more flattering to the subject.
Placing The Key Light
In the video, you’ll see how we’d normally place our key light about 45 degrees to one side of the camera to subject axis and point the light down toward our subject at about 45 degrees. I recommend that you experiment with slightly different angles to see how the light and shadows affect the look of your subject. And don’t forget to at least familiarize yourself with some of the traditional lighting patterns and what they’re used for.
Traditional Portrait Lighting Patterns
Traditional portrait lighting patterns are useful as starting points for most portraiture. You’ll use your key light to create one of these patterns and augment your setup with a fill light and other lights as you build up the setup. I strongly recommend that you learn how to create these fundamental portrait lighting patterns before you move on to multi-light setups. Here’s the list of what you should learn:
- Short Light
- Broad Light
- Butterfly or Paramount Lighting
- Split Lighting
- Rembrandt Lighting
If you only learn one, make it the short lighting pattern.

