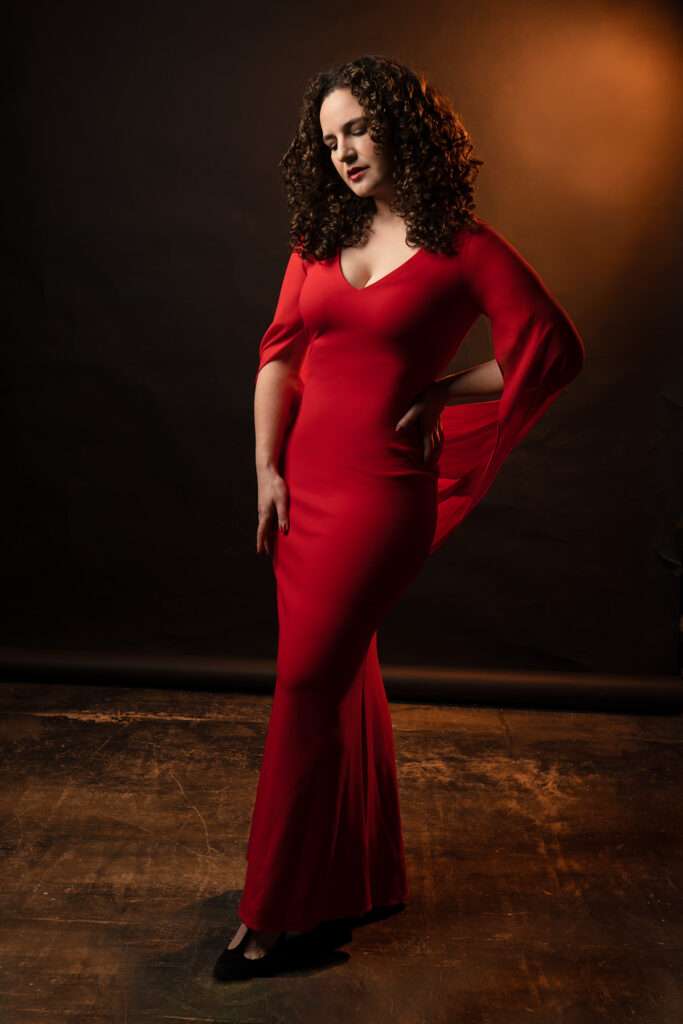
Most of the photography produced these days is created with digital gear, recorded on digital media. But even film photography has always employed some form of post-processing whether it be push/pull development processing, the use of dodging and burning techniques, contrast selection, retouching of film or prints, or more extreme image manipulations. Even the choice of film and/or use of special effects lens filters counts, in my opinion, as manipulation. So, there should be no dilemma concerning the appropriateness of using Photoshop to “fix” or otherwise improve or alter an image.
Limitations on what someone can or should be able to do with a digital file (or an image digitized from other media); are artificial in the sense that there are no practical limitations, only self-imposed constraints. It can be argued that post-processing happens the moment a digital camera processes the data off the sensor, and certainly when a file is converted, via some programmer’s algorithm, for use in digital workflows. Why not make the absolute most of the tools available to you, just as photographers have always done? Of course, you can ruin any photograph with overdone effects or cheesy gimmicks. But used thoughtfully, post-processing techniques can help make a good picture an outstanding one.
Capture The Most Information
Your camera likely allows you to shoot in a variety of file formats and capture modes. I suggest that you capture the most information available for an image on the front-end; use your highest resolution and full RAW capture unless it makes sense not to. Why shortchange yourself or your client by limiting the amount of picture information available to you?
It’s understandable that storage can be a factor, but that’s another good reason to avoid machine-gunning your camera and rather shooting fewer images with more thought and precision. And, being able to work with high-quality captures at the earlier stages of your workflow doesn’t prevent you from dumping the originals once your final edits and saves are made. You can always move down a few notches in resolution and information, but you can’t work with it if it was never there to begin with.
The Basics
I strongly encourage you to learn as much as you can about basic image adjustment techniques because that’s part of what we do as photographers; we should know how to finish out our own images. Don’t count on one-click actions or presets to do all of it for you, they’re not smart enough to make good decisions on a shot-by-shot basis. You have to know how to manage the basics yourself.
I recommend good books on Photoshop and Lightroom to help you learn the specifics. While many topics are covered, the most important to our general needs involve color and tone adjustments, color conversions, selective area fixes, sharpening and noise reduction, and the basics of retouching. In order to make the most out of basic image adjustments, you should become familiar with how layers and other nondestructive tools and techniques work.
Getting a basic handle on how image editing works will allow you to take full advantage of the aforementioned actions and presets, should you decide to use them. This is because you’ll be able to use them as starting points, making custom changes of your own, as needed. Creating your own actions and saving your own presets might follow.
As is always my advice, continue to learn and experiment. You might find exciting new avenues to explore and discover ways of making images you never thought possible.