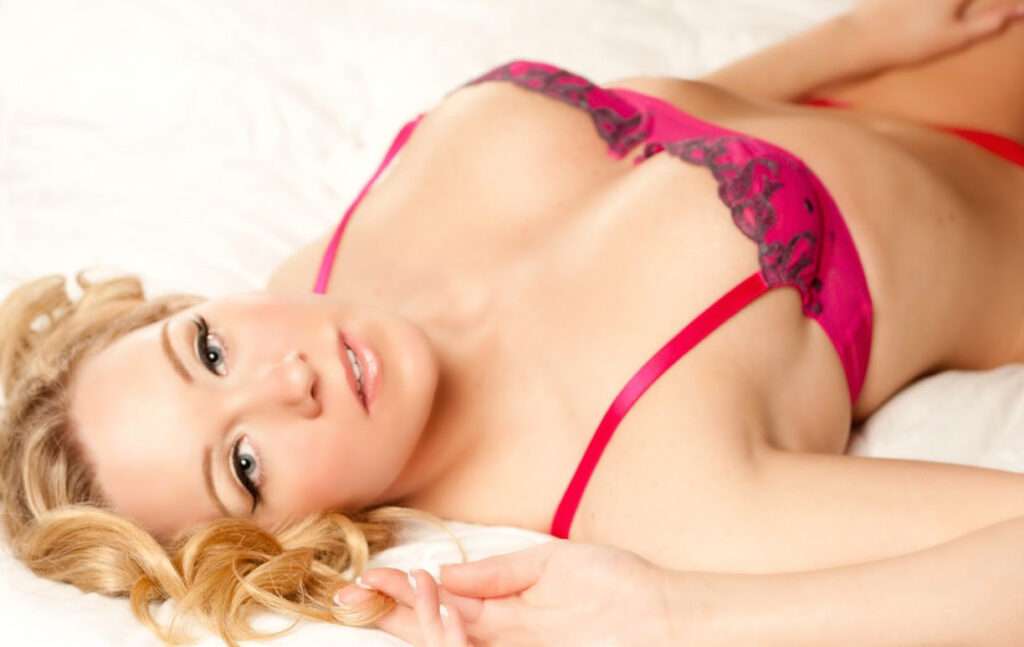
In this section, we’ll discuss what goes into post-processing for boudoir. It’s important to note that we’re not trying to provide in-depth training on actual editing or retouching techniques. Instead, we’ll focus on the broader understanding of the editing process, its importance, and the expectations your clients may have regarding post-processing. Specialized editing techniques and software proficiency are topics for separate, in-depth exploration.
The Question of Photoshop
Clients often inquire about “Photoshopping” during initial consultations. You should make it clear that digital retouching is part and parcel of boudoir photography. Whether it’s removing skin blemishes or dark circles under the eyes, some level of post-processing should be expected. The extent of this work depends on you, your client, and the budget.
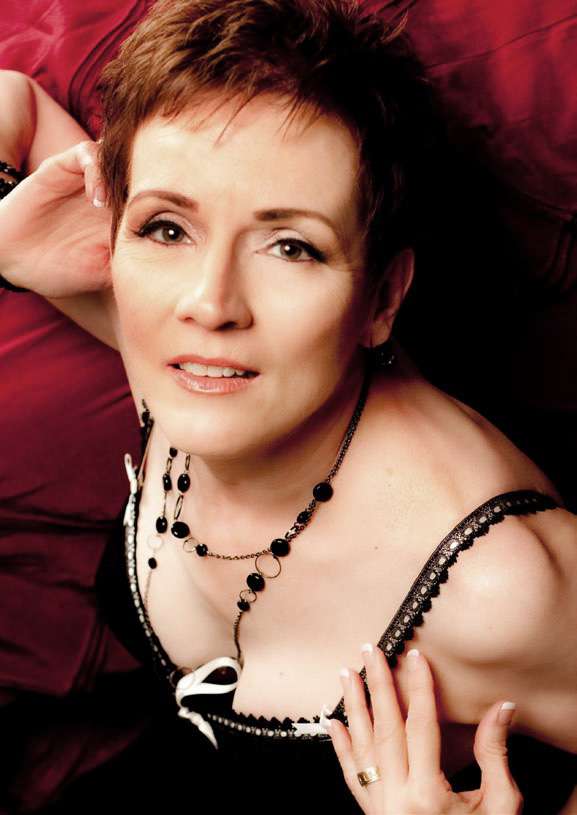
Professional Retouching Tools
While there are quick fixes like filters and AI-powered software that can smooth out skin, these sometimes lack the texture and dimension that make a photo look realistic. So, working on your skills with professional retouching techniques is advisable. Here are some essential tools in Adobe Photoshop for skin retouching:
The Most Important Tools for Skin Retouching
Sophisticated retouching techniques can be employed for boudoir, but even simple tools and techniques can be very effective. Here are some basic tools available for routine retouching tasks:
- The Patch Tool: Ideal for removing small blemishes and wrinkles. Work in small patches for a more natural look.
- The Spot Healing Brush Tool: Useful for eliminating minor bumps or spots quickly.
- The Clone Stamp Tool: Effective for smoothing out larger areas like bags under the eyes. Also useful for removing stray hairs and other small distractions.
- The Liquify Filter: Use sparingly for body reshaping, such as reducing a tummy or slimming an arm.
- The Surface Blur Filter: Great for overall skin smoothing while retaining some texture.
Note that some of the newest AI and Photoshop’s “Neural” filters are getting very good at enhancing portrait images. Even Lightroom has excellent editing tools for portraiture that can make short work of creating initial proofs/previews for clients. I’d recommend getting familiar with these tools as you move forward. You won’t necessarily use them for every part of your workflow, but they can come in very handy when you need to balance time and budget against results.
Tips for Using These Tools
- Layers: Always work in layers to make non-destructive edits.
- Opacity: Adjust the opacity of your layers to achieve a more natural look.
- Masking: Use layer masks to control where your edits are applied.
Post-Processing Workflow
- Culling: Start by selecting the best images from the shoot.
- Basic Adjustments: Make initial adjustments like exposure, contrast, and white balance.
- Skin Retouching: Use the tools mentioned above for skin improvements.
- Final Touches: Apply any special effects, filters, or additional adjustments.
- Review: Always review your edits and make any necessary revisions.
While these suggestions may seem straightforward, they are effective and will meet most of your post-processing needs. The key is to practice, experiment, and develop your own style while keeping the client’s preferences in mind.